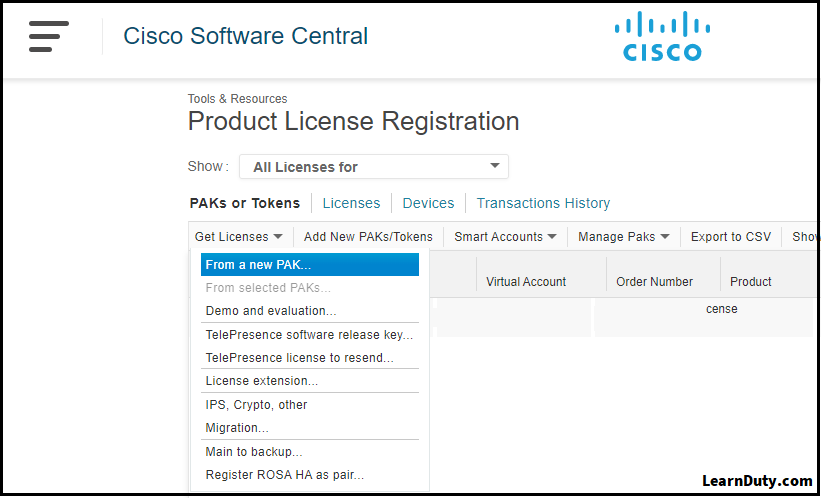
In order to add or install a license to a Cisco Router, first, you need to purchase the license from Cisco’s Official website and then there are some simple steps to follow:
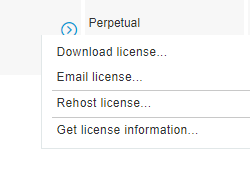
Step4: Download the license
To get the license file, Click the “Download license” or check the mail attachement.
We can upload the license file to the router using UBS drive or TFTP.
As an example, this is the license file, we will be using: Router1-FGfsdf6d59986nlq2521577.lic
Router#copy usbflash0:Router1-FGfsdf6d59986nlq2521577.lic bootflash:Router#copy tftp: bootflash: Address or name of remote host []? 192.168.10.10 Source filename []? Router1-FGfsdf6d59986nlq2521577.lic Destination filename Router1-FGfsdf6d59986nlq2521577.licStep6: Install the License on Cisco Router:
Router#license install flash: Router1-FGfsdf6d59986nlq2521577.lic Installing licenses from “flash: Router1-FGfsdf6d59986nlq2521577.lic” Installing…Feature:securityk9…Successful:Supported 1/1 licenses were successfully installed 0/1 licenses were existing licenses 0/1 licenses were failed to installRouter# reloadshow version show license show license usage