
Managing finances is one of the biggest challenges involved in being a freelancer. In particular, invoicing properly and in a timely manner ensures you receive the revenue you are due and stay afloat. Invoices also help you ensure that you’re keeping adequate records for the work your business provides. While it may sound straightforward, you need a dedicated invoicing process to stay organized and professional.
Luckily, once you create a template for your business, you can use it again and again to speed up the process. Invoicing software helps you do so in just a few steps. You’ll find that with the right process, sending invoices can be a breeze.
This guide will discuss exactly how to invoice as a freelancer with the tools and tricks you need to succeed.
Jump to:
Timing is one of the most crucial components of your invoicing process. Create a policy governing when you want to send invoices—ideally, right after you’ve completed the work.
However, every client might be different. They may already have a system in place for freelancers. For example, they may ask that you invoice for the entire month’s work on the last day of the month. Just make sure whatever terms you agree to are realistic for your business.
After you send an invoice, you will have to play the waiting game. To ensure that you get what you are due, you need to make it clear how much time a client has in which to pay you, whether that means 15, 30, or 45 days. Talk about these terms with the client to ensure they can comply, and include those terms in your contract.
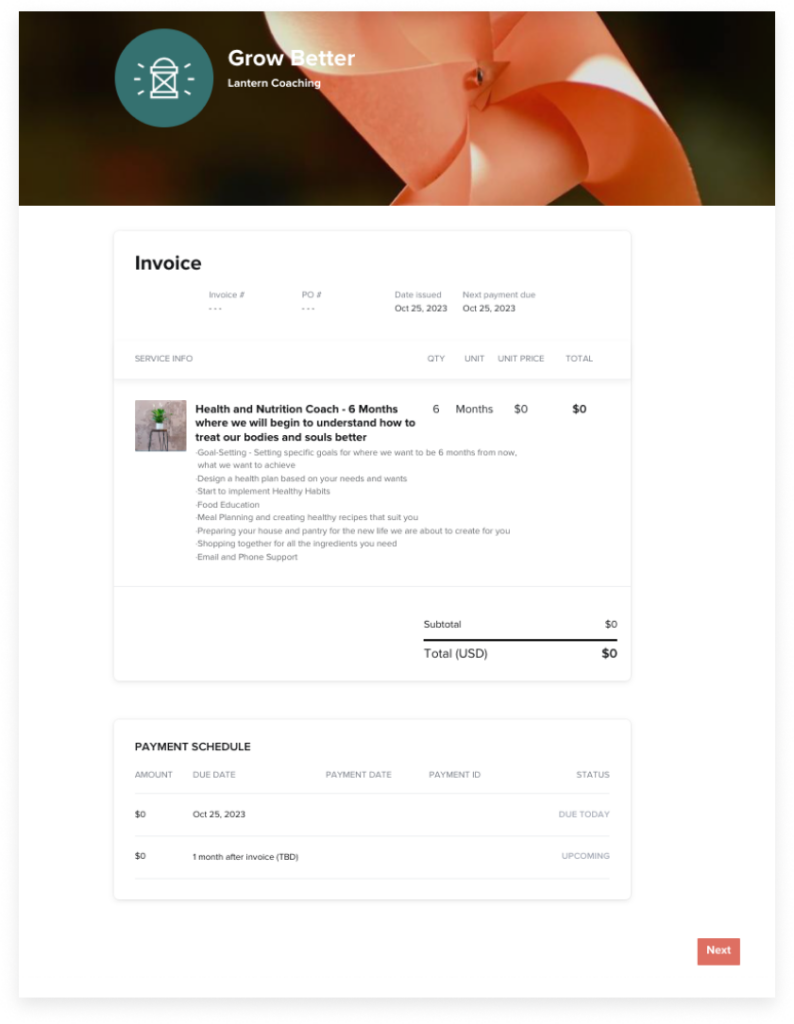
You may want to use an existing invoice template to start or create one from scratch. Either way, there are some important elements to include:
If you collect taxes, also include a line item for those. You can further delineate any discounts or offers in your invoices, as applicable.

Now, you may be thinking that all of this is easier said than done. You may not feel totally confident about creating such an important document for your business.
Don’t worry, though: You just need a simple checklist for all the necessary steps to create a professional invoice for your freelance work:
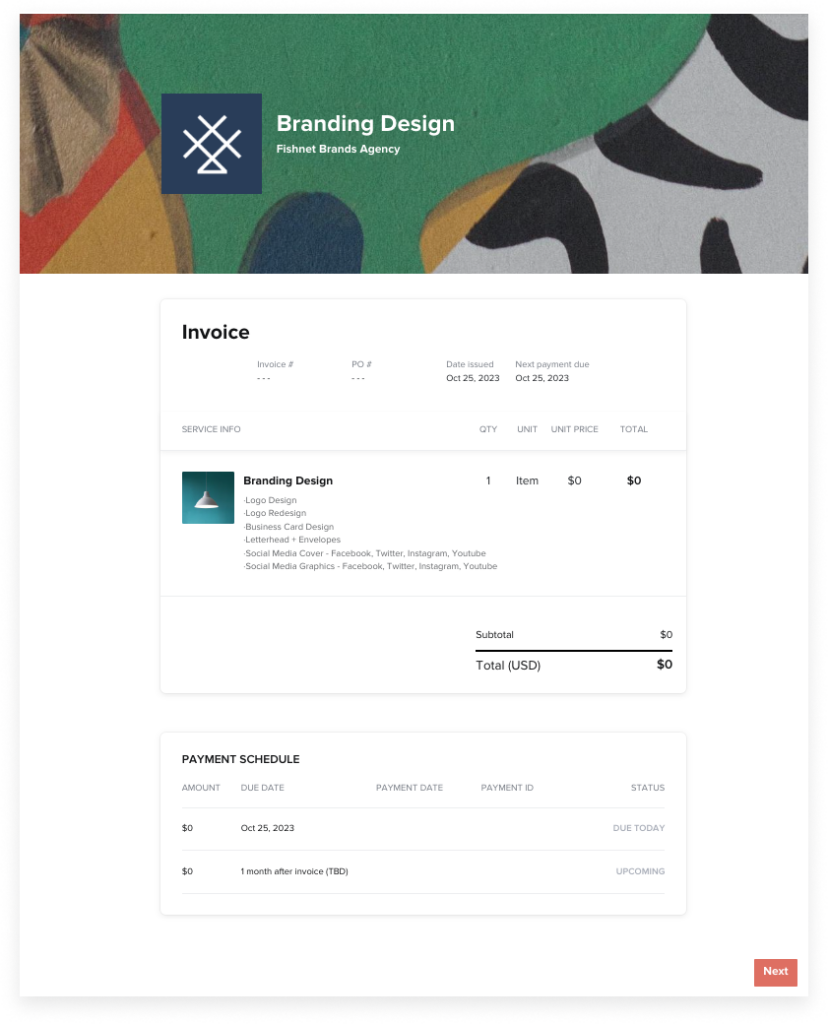
Many templates can point you in the right direction, like these free invoice templates from HoneyBook. With templates, you can find a style you like and make sure you’re hitting all the most important points with your invoices. Choose from a wide, ready-to-use, collection, from a tutor invoice template to a designer invoice template, and everything in between.

Plan to create a living document you can continue to update, edit, and send. The goal is to produce something simple to fill out so you don’t spend a lot of time invoicing.
Using software like HoneyBook, you can simply plug in the specifics for each project or client into your existing business invoice template.
Each project will be different, but make sure to include each hour you worked or service you provided. It helps to proactively track your hours or deliverables throughout the invoice period so you have a document to reference when creating the final invoice.
Don’t forget that details like the date and client address are critical.
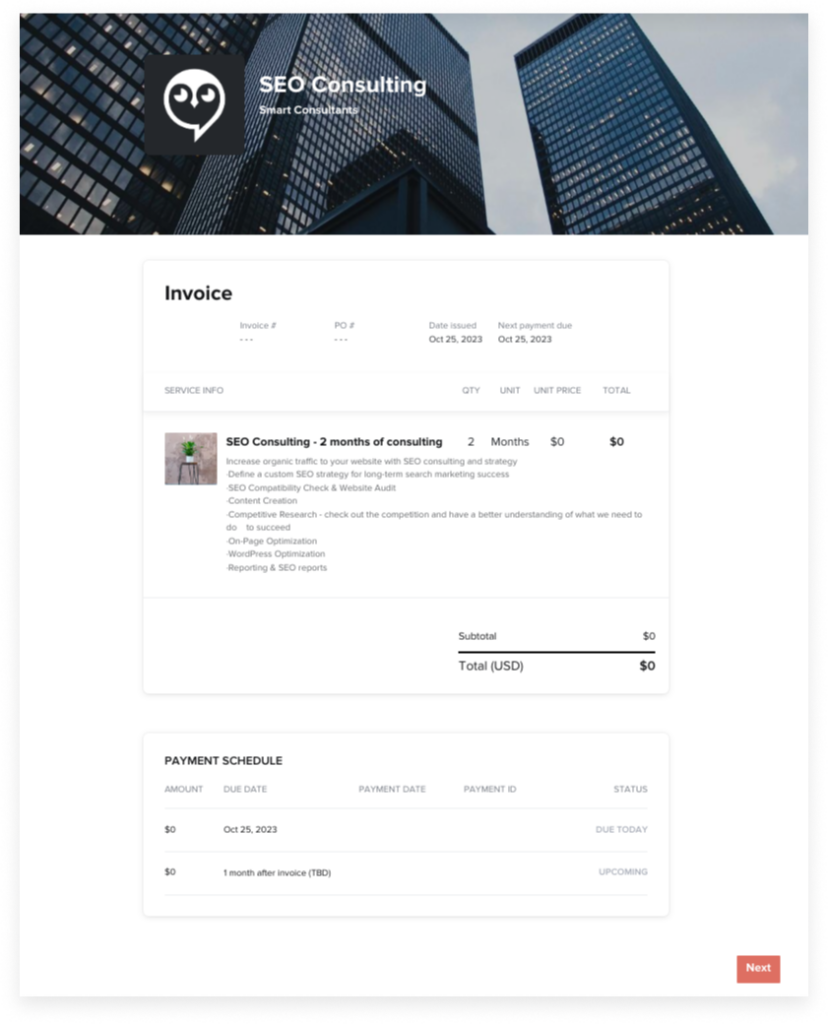
You’ve probably spent a lot of time crafting your business’s branding and design, including fonts and colors. Many business owners incorporate these elements into their invoices, which can improve brand recognition and consistency. However, your invoices need to look clean and professional. Never use fonts or colors that are too busy or hard to decipher.
Staying flexible about the types of payments you accept can help you appeal to clients. Just make sure you can actually accept the payment options you outline in your invoices. Make it clear what you prefer and what you can’t accept, if applicable.
For example, if you don’t want to wait several extra days to receive payment, don’t allow checks to be sent via the mail.
Similarly, be crystal clear about how long of a period the client has to pay you. Even if payment terms are in your contract, it doesn’t hurt to include a reminder on your invoices.
This way, you can avoid late payments or have a clear process in place in the situation where a client is late with their payments. That includes applying late payment fees and a clause for stopping work in the case of nonpayment.
Your financial management practices will significantly improve when you harness a platform that gives you a range of tools and automation features. This includes invoicing.
Use HoneyBook to get access to invoice templates, custom scheduling and tracking, auto-pay options, and accounting software integrations.
Once you get started with your invoicing process, you may still have a lot of questions. Let’s walk through some common questions:
Establishing your invoicing process means you’re on your way to getting paid and staying organized. Remember that each client may have different expectations and processes, so you should get your system established from the beginning when you work with someone new.
Establishing a process for your professional invoices helps you stay organized with recordkeeping, ensure clients pay you on time, and keep a log of the services you provide. Incorporate the right elements and language by using a template from HoneyBook.
HoneyBook is your one-stop shop for maintaining your clientflow. You can manage the booking and invoicing processes in one place, including setting up your freelance contract templates, contract signing, scheduling, and managing your online payment software. With HoneyBook, you can even combine these tools with other features like lead capture, project management, and client communication.